This repository was archived by the owner on Aug 15, 2023. It is now read-only.
Tutorial_audioexport
This section describes how to export an audio file of an existing sonification.
Back to Table of Contents.
Open an already existing sonification element  in your workspace.
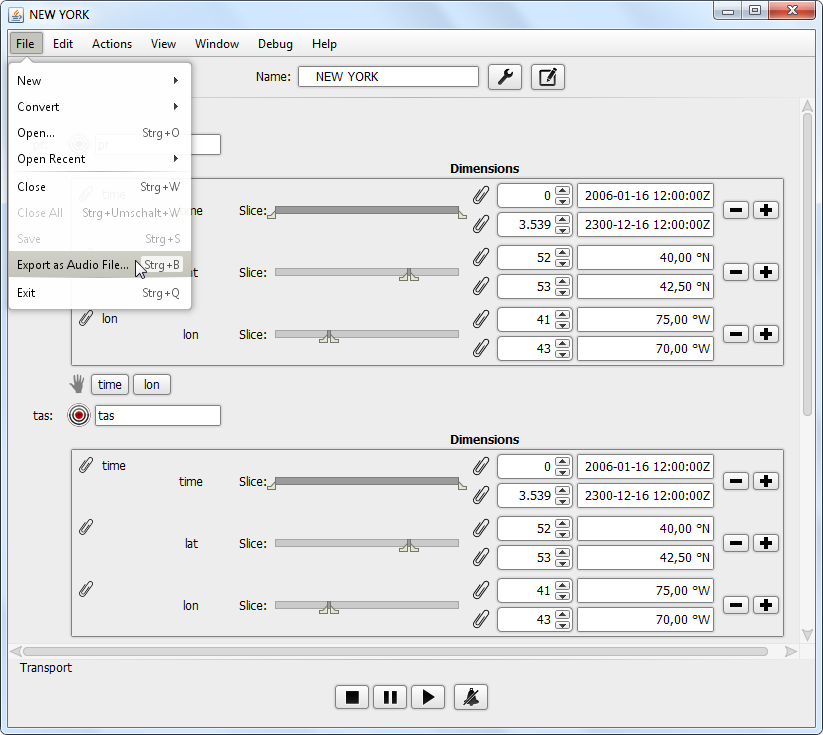
Follow File / Export as Audio File in the menu.
A window called Bounce to disk appears.

You have the following possibilities:
- Select file name and location on your volume
- Select audio format
- Select datatype
- Select sampling rate
- Adjust attenuation
- Choose between "Normalized" or "Immediate" mode
- Select the channels you want to bounce
- Choose duration of the recording
- Choose "Run in Real-Time" for recording as "what you hear"
- "Fine Control Rate" means "Control Rate = Audio Rate" (not recommended in "Run in Real-Time" mode)